352-804-2056

Focal Point
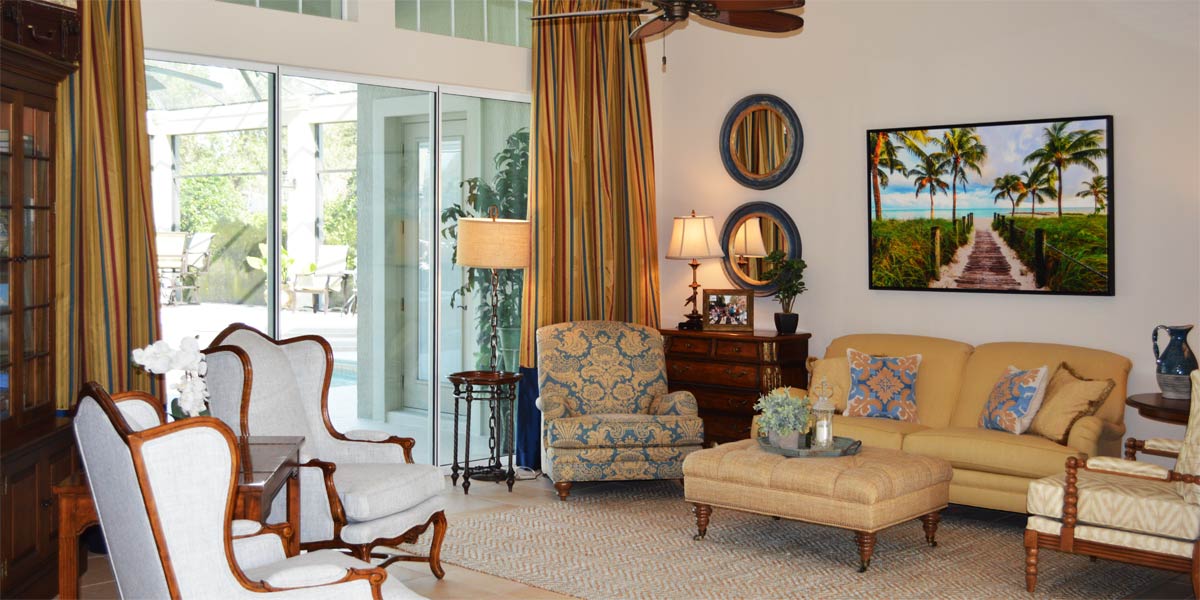
In Design the term focal point is used quite often but have you ever wondered what it really means? The focal point is simply the wall with the greatest visual emphasis. The wall that usually receives the most visual emphasis is the largest wall in the room. Everything else in the room such as smaller walls and furniture should visually support and work to achieve harmony with the focal wall. When you properly establish a strong focal wall, the room falls into place like a puzzle. Let’s see how these principles work together in the living room of a Begonia model somewhere in the heart of The Villages.
• Reposition the TV 
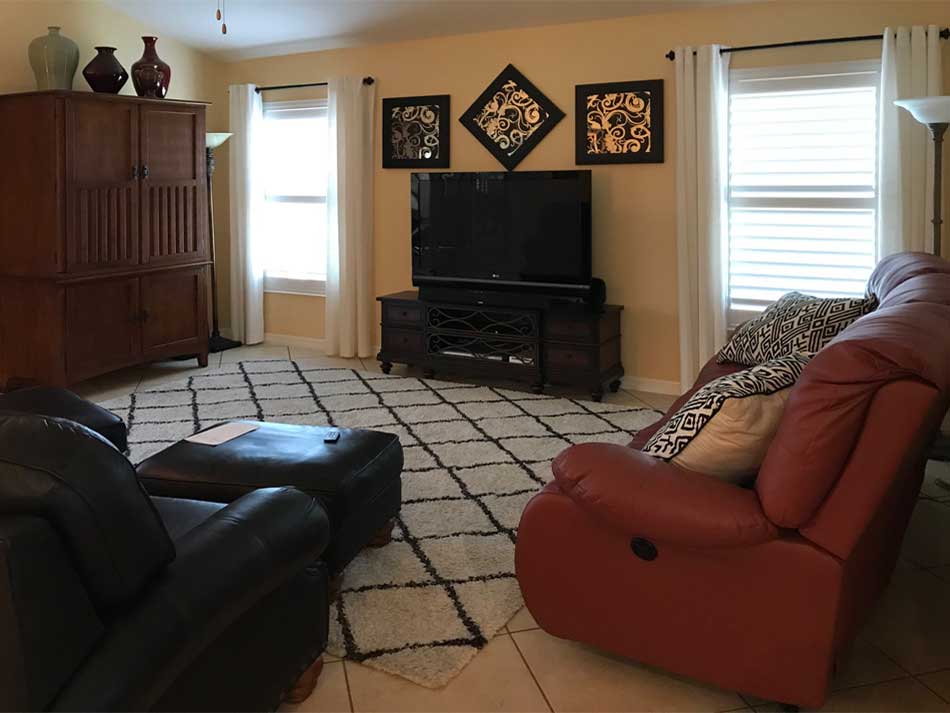
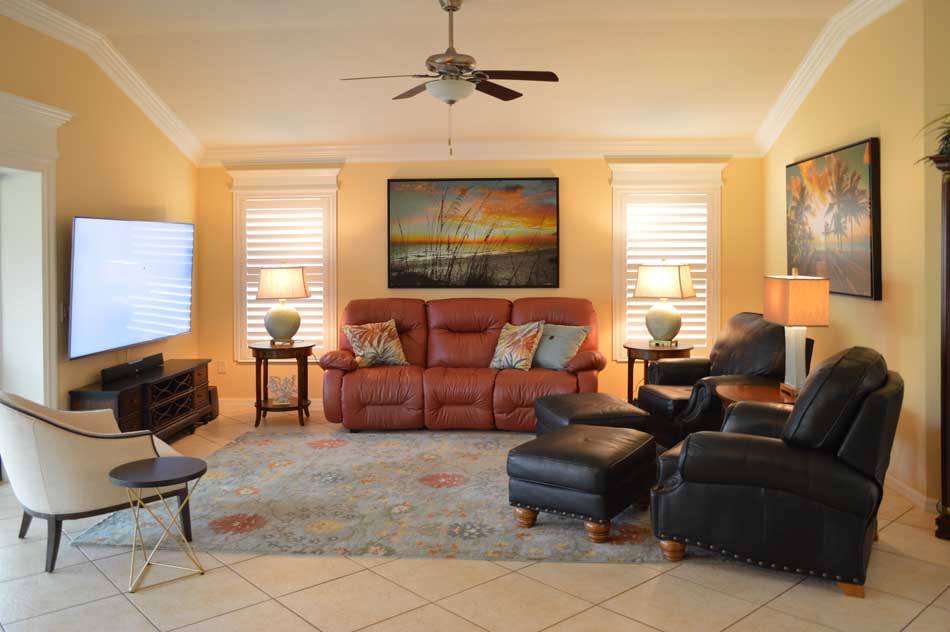
The before picture shows the TV on the wall between the windows and looks very dark. The TV always looks darker on this wall even though it is the natural focal point in the room because it is located between two windows. When large amounts of light are coming in a room toward your eyes, everything beside the window looks much darker. This is a natural function of the eye and when considering this natural function, it always looks better to put the TV on another wall. We put the TV on the smallest wall beside the sliding glass door. This allows the homeowner to look out at the view as well as enjoy the television. One more added function to placing the TV on the smallest wall is that it can be seen from the kitchen while cooking!
• Reposition the rest of the furniture
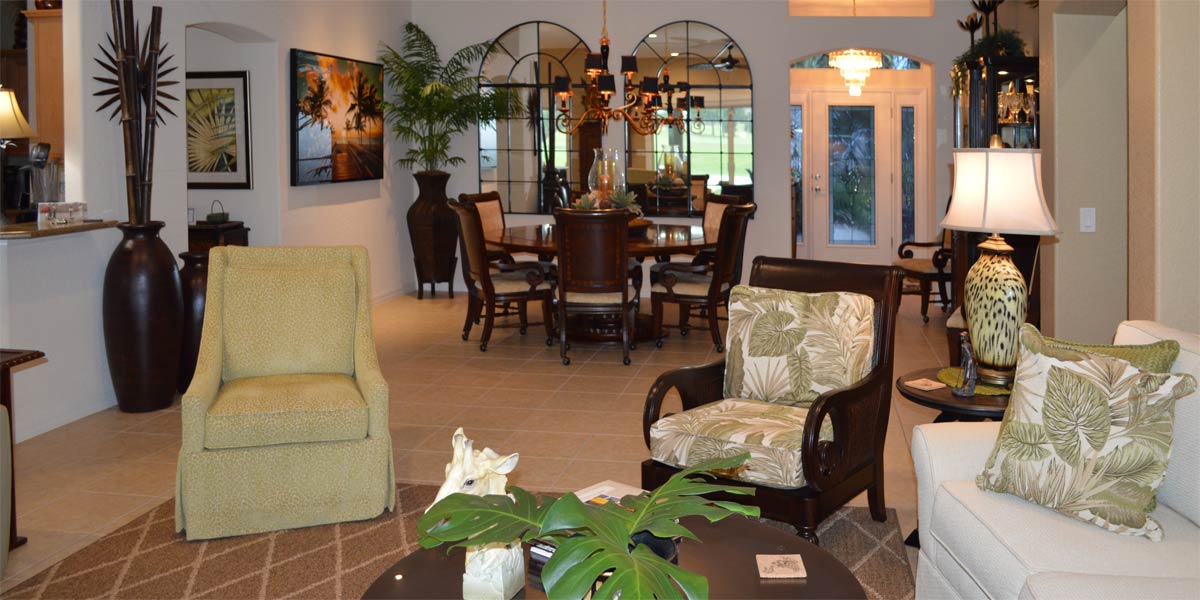
We placed the sofa on the largest wall and it fit in-between the two windows. This opens the room up because it allows us to move the two chairs that the homeowners use daily into position on the second largest wall that opposes the TV. Comfort is paramount and we wanted the homeowners sitting directly across from the TV the same way they were sitting as when the TV was between the two windows. Finally, we added a small occasional chair beside the TV and angled it in toward the room, to round out the seating area. If they needed more seating for a big game it will be easy to pull in chairs from the dining room and everyone would be comfortable. We moved the armoire to the garage.
• Crown molding
Crown molding was added to the main body of the house and since the ceiling was over nine feet in most areas, we installed 7 inch crown molding.
• Shutters and casement molding
The window treatments were removed and shutters were installed on the windows. Headers were added to the shutters to make the top of the shutters visually tie into the top of the treatment on the slider. The privacy treatments were not needed on the slider so they were removed. We framed out the slider with large four inch casement molding and added an 18 inch header to the top of the casement molding. This header, though it was larger than the headers on the shutters, visually tied the windows together for a tailored and cohesive look that will stand the test of time.
• Large TV
We installed a much larger TV in the living room and the homeowners like it!
Feel free to treat yourself, a large TV is not a crime!
• Art
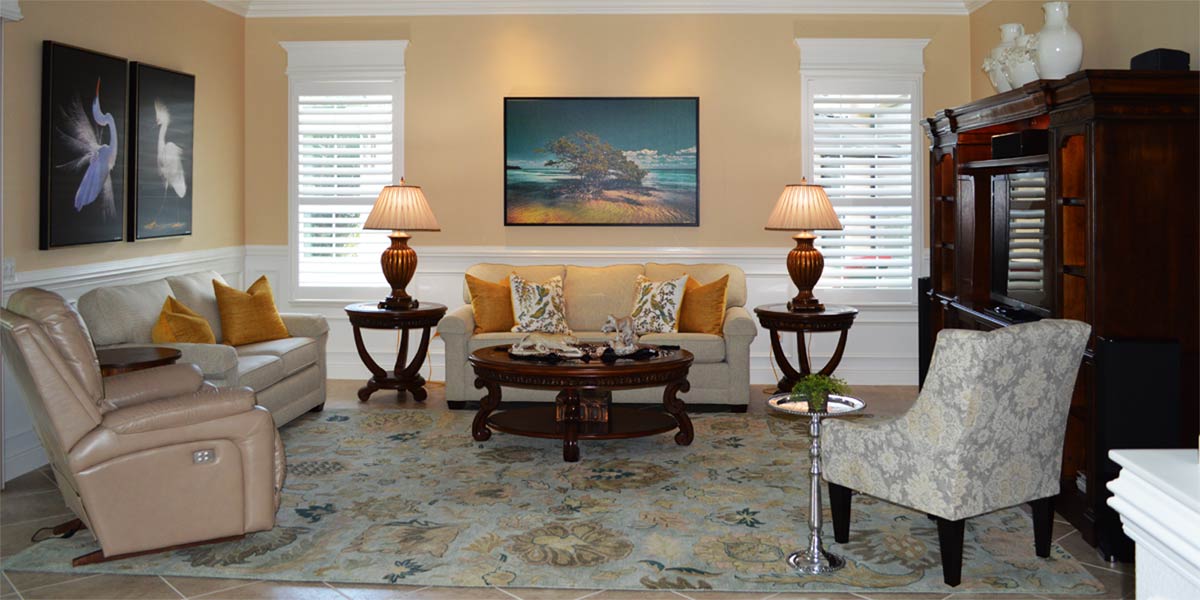
There had to be something spectacular over the sofa, and it had to tie into the space to make since. The homeowners chose Sea of Dreams by Alan Maltz. This canvas is forty inches high by sixty inches wide and it fits the focal wall to perfection. When looking into the space the brightness of the picture captures your attention and keeps the space bright. The orange rust color of the sofa can be found in the picture in the horizon. The black of the two chairs opposing the TV can be found in the sea grass of the photo since they appear black with the backlighting from the sun. Also, on the wall above the two chairs we placed “Pathway to Paradise” because the homeowners loved it and the two pictures complement each other perfectly.
• Rug
We chose a new 8×10 rug to pull everything in the space together. This rug is a neutral blue and in the pattern all the other colors in the space can be found.
• Lamps
New lamps on each side of the sofa also work to tie it all together. The lamps are hand hammered metal with a greenish/teal glaze.
P.S. –Attention, club presidents! I give free decorating programs! It is lots of fun and very informative. Call and schedule your club today or call Ruth your full service decorator at 352-804-2056.
Before and After Pics Below