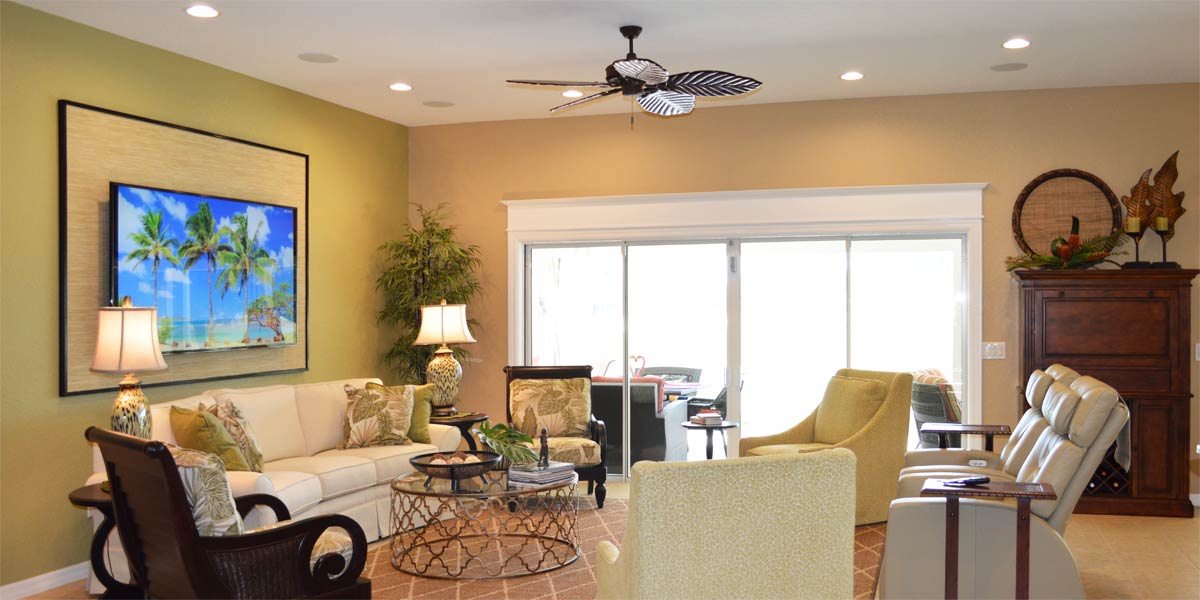
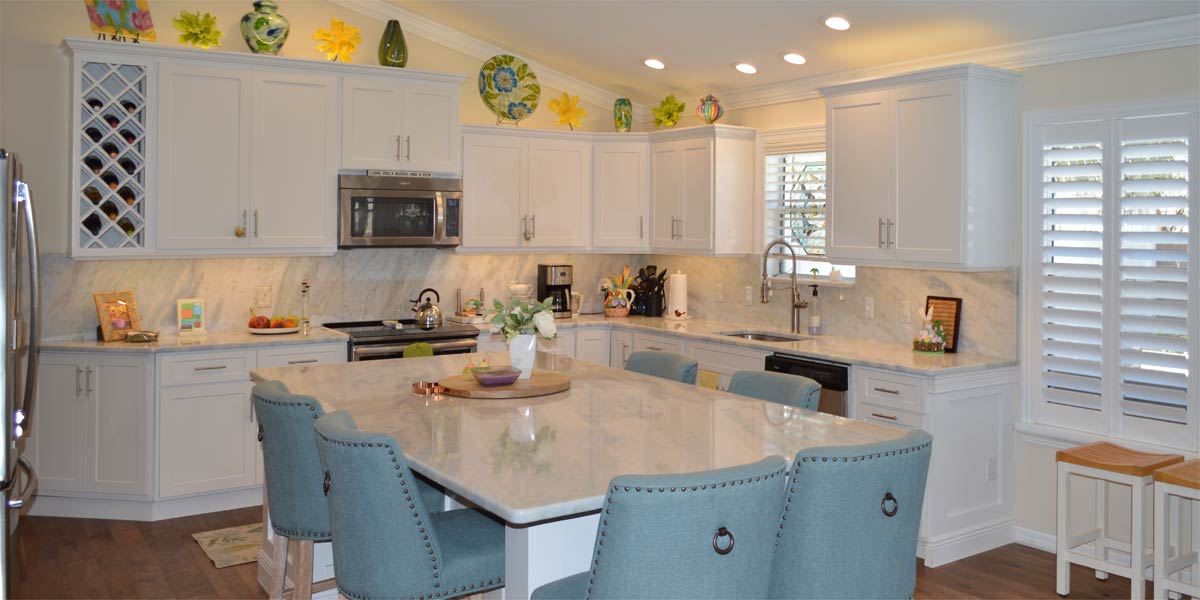
When you stand in your kitchen what do you see when you look up? How do the kitchen cabinets look and are you satisfied with the décor up there? I am often found standing in the kitchen with my clients talking about how we will dress the top of the cabinets and how much is too much? We can get some ideas if we look up at the top of the cabinets of a Gardenia, a Williamsburg, and an Iris somewhere in the heart of The Villages.
• Larger and Less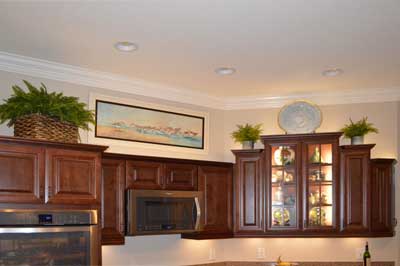
In design, the eye likes to see larger item and less of them. So, when we apply that principle to decorating the top of cabinets you will need a lot less “stuff” than you think you will. I often use art above the cabinets to create large focal points. Large vases and large baskets of greens work well too. Remember, something that looks large on the ground will look much smaller high on top of a cabinet.
• Gardenia
This Gardenia has the cabinet staggered which works very nicely for display.
There is a large deep cabinet in this Gardenia over the oven so we need to place something large up on it. I usually use a large basket of greens. Boston fern is nice because it does not take as much to fill a large basket. Next, I place a piece of art over the long bridge of cabinets above the microwave. This long area is a great place to display art. Using art in this space eliminates clutter and creates a nice focal point. For the group of staggered cabinets on the right, I use a large charger on the high point above the glass display cupboards. Located on each side of the glass display doors are smaller cabinets. I place simple greens in matching pots for symmetry. The look is calming and pleasing to the eye.
• Opposite side of Gardenia Kitchen
For the small wall on the opposite side of the Gardenia kitchen, the cabinet above the refrigerator is deeper; so I placed a large basket of greens to fill that space and add softness. Then I hung two butterfly pictures that complement each other nicely, in the space that was left over. This side of the kitchen is a great place to display art as well and it looks so much better than lots of stuff! The homeowner had a vase that looked great bridging the gap that was between the pictures and the greens basket.
• Williamsburg
There is about 22 inches of space to fill in the Williamsburg. We purchased art that reflected the homeowners taste and hung that above the kitchen cabinets. The one long picture above the cabinets with a large basket of greens is all that was needed to make that space look great. Also, notice the clock hanging on the wall beside the cabinet. I love it because it can be seen on both sides.
• Iris model
In this model we did not have much room for art but we still created a focal point.
We hung a large raffia basket against the wall as the focal point. We put a handmade platter in a plate stand next to the focal point and to fill the corner we used a wooden finial. The birds look great nestled in front of the raffia focal point. We did use a smaller basket filled with fern to fill the space that tapered down to the corner. We stopped the decorative grouping at the corner with two rustic vases pulling touches of orange into the space. Usually, in an Iris we only decorate above that space and leave the rest of the cabinet space alone.
• Lighting
If you don’t have it, you must get it! Led lights above and below the cabinets make everything look better. The lighting above the cabinets highlights all the art and pretty things and below the lighting provides great light for cooking and food prep!
P.S. –Attention, club presidents! I give free decorating programs! It is lots of fun and very informative. Call and schedule your club today or call Ruth your full service decorator at 352-804-2056.
