352-804-2056

Living Large
Patio villas are perfect for our winter friends and anyone else who wants to live worry and fancy free! The Cabot Cove is 1190 square feet of efficient living. Some would say that is small but I would say it makes life easy! However, decorating them can be as big a challenge as a Gardenia or Lantana. The solution to a fabulous patio villa is to always rely on steadfast design theory to see your project through. Let’s take a peek into a Cabot Cove that put on a fresh face this season; it now feels very pulled together and the living is large somewhere in the Heart of the Villages.
• Request
This villa is the homeowner’s winter retreat. They bought things to make it look good but they never could get it to feel pulled together. When I met them they wanted to purchase new sofas but that would not solve the problem. The design concepts we would employ to create a new space would be focal points (center of interest) and rhythm (repeating the accent colors throughout the space).
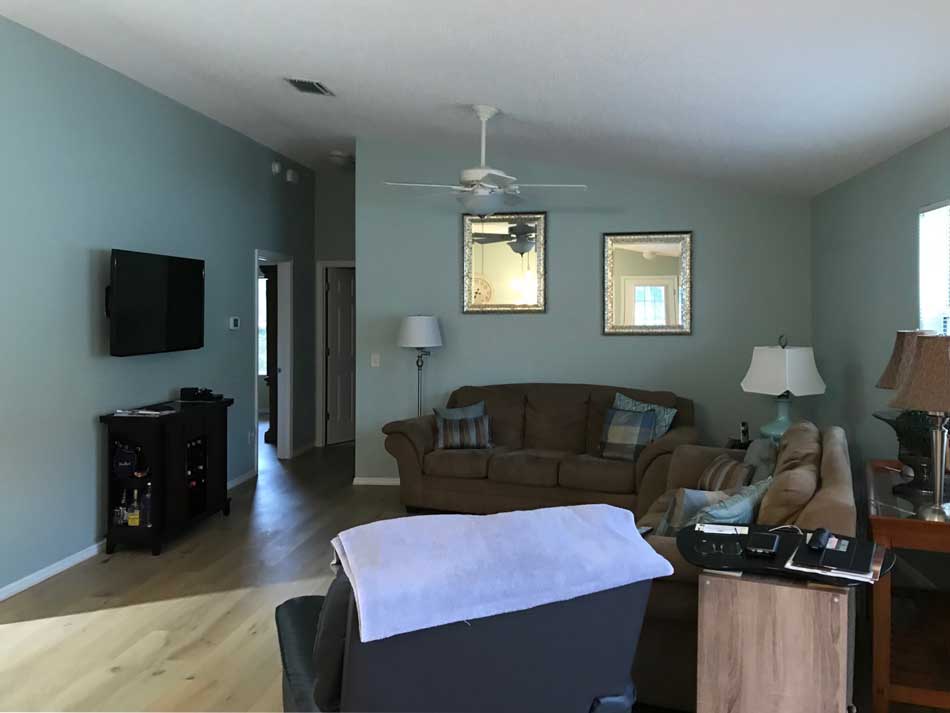
• Establish focal points
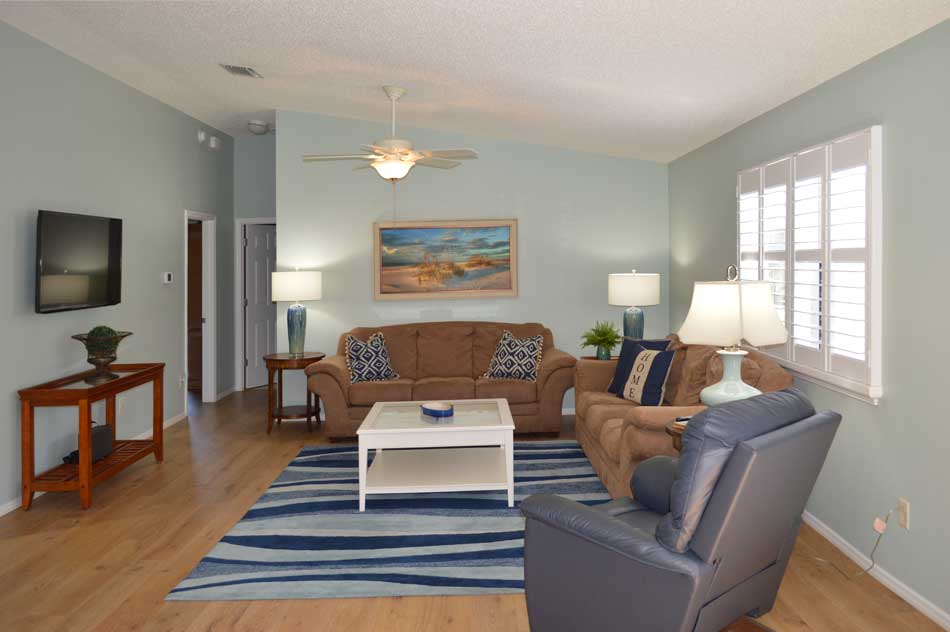
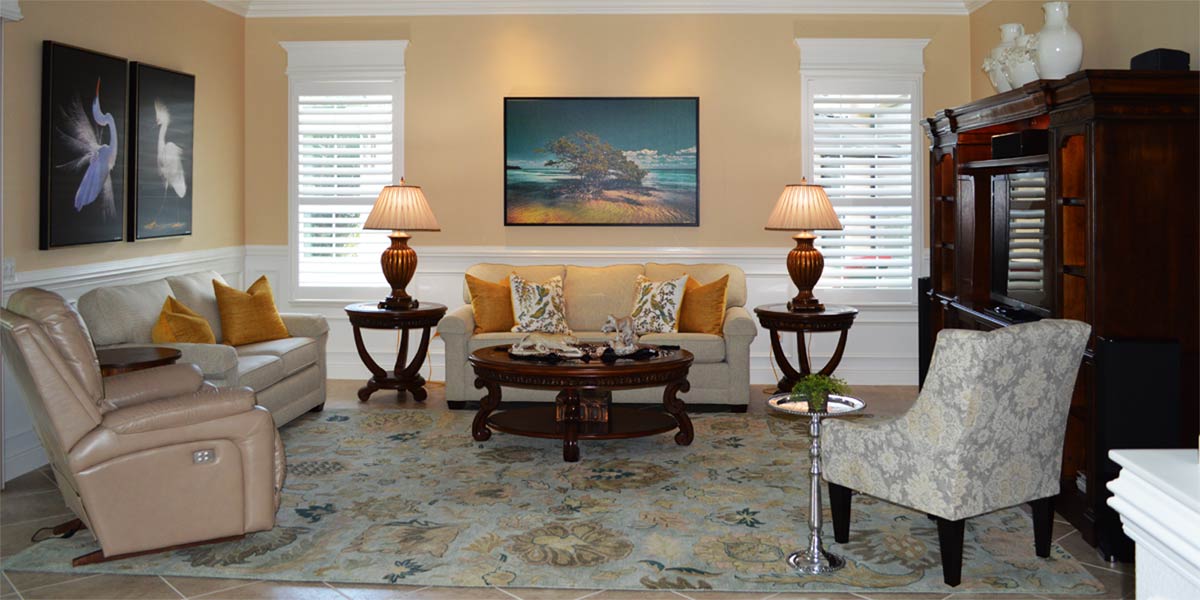
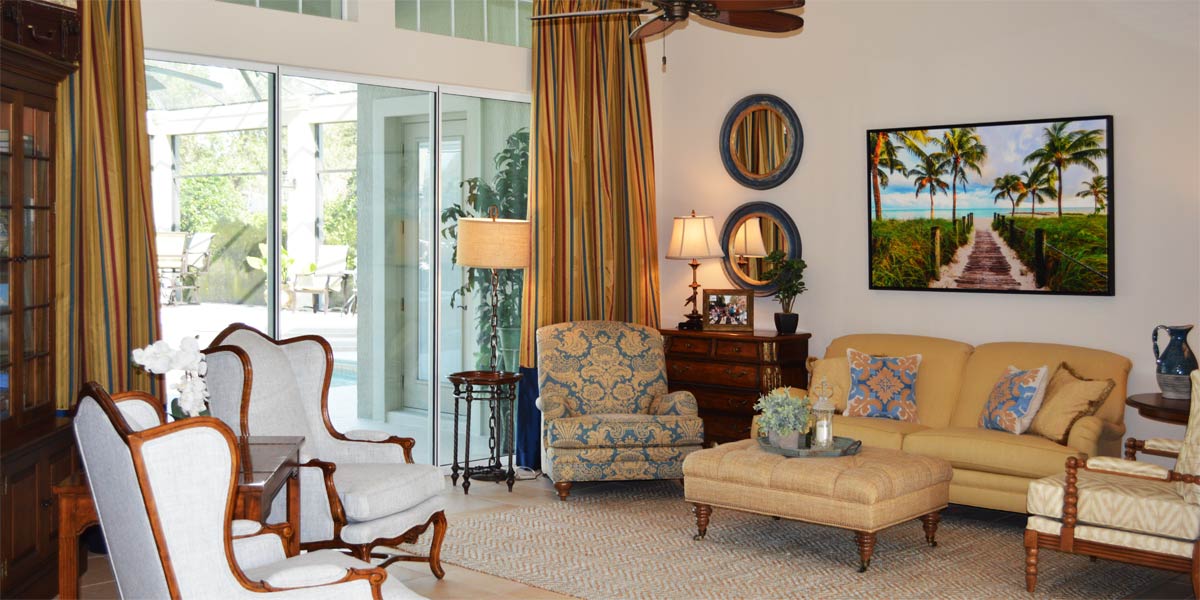
In a patio villa the first thing the eye sees is the large wall at the back of the living room. Originally, the homeowners hung two mirrors above the sofa. I love mirrors but in this case all they reflected was the rest of the house. The eye wants to see something on the focus wall so in this case art was a better choice. The homeowners chose a beautiful sunrise with lots of teals and blues. We used this picture to inspire other choices in the space.
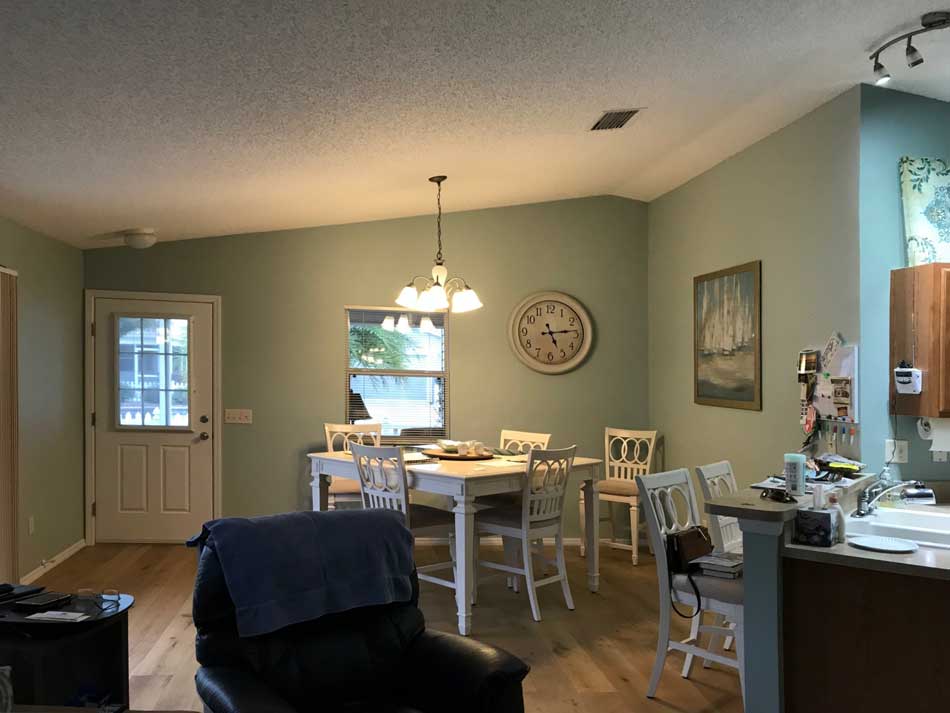
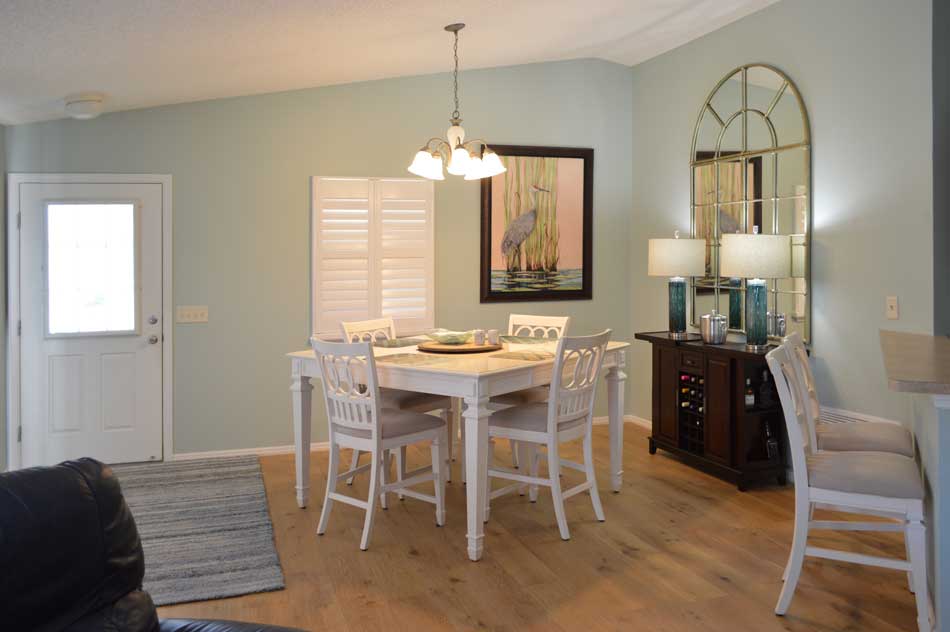
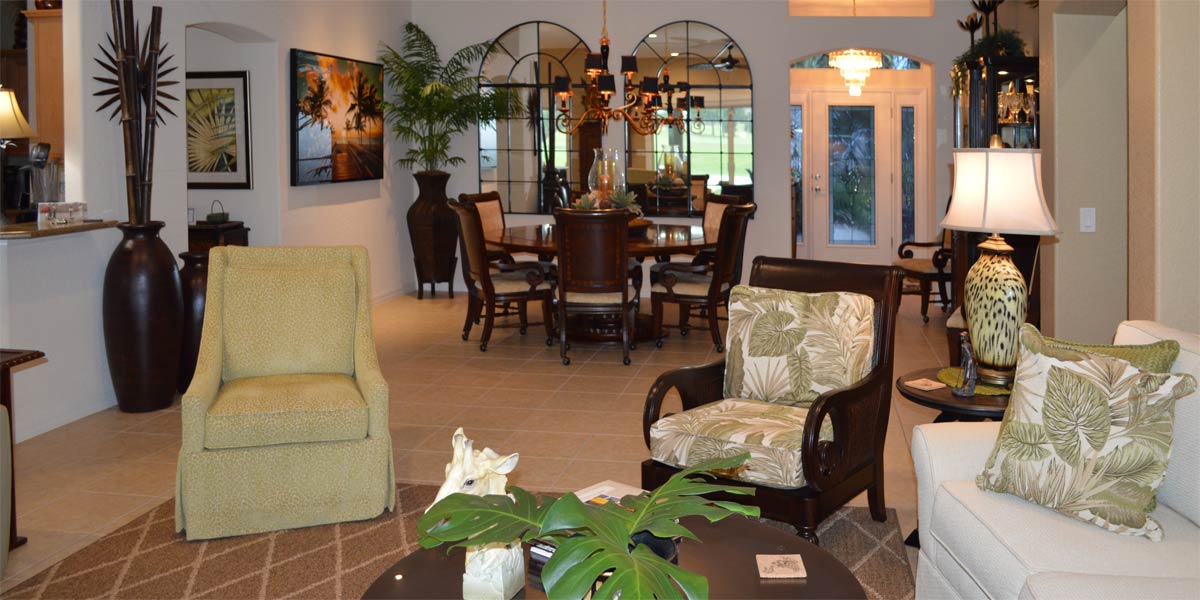
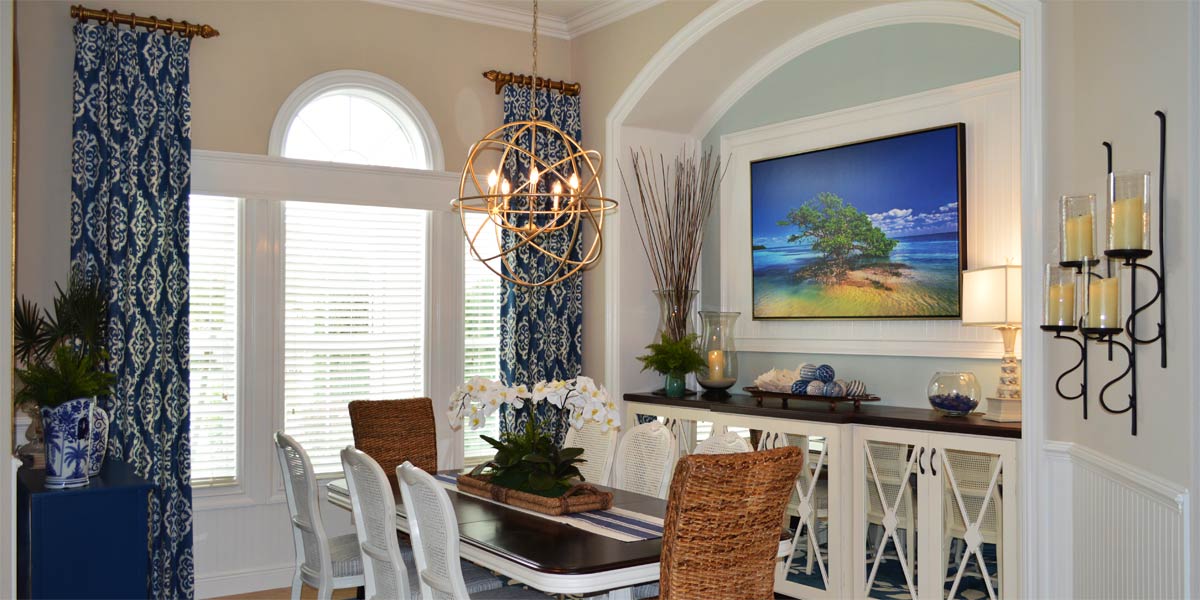
• Focal point in the dining room
To make this pop we had to establish a strong focal point on the wall opposing the sliding glass door. We moved the wine cabinet that was originally under the TV into the dining room to act as a server and ground the wall with something dense for the eye to see. Above the wine cabinet we hung a large 48 wide by 72 high mirror to reflect the light coming in from the slider. This made the room feel larger with more light. We placed two lamps of blue glass on the server and that pulled the tones of blue around the space (rhythm). We liked the table at an angle and we placed all the chairs around the table, rather than in the corners.
• Art in dining
We hung a very large Sandhill crane on the wall that used to hold the clock. This added much needed color and a large piece of art balanced the focal wall quite nicely. The picture that was on the focal wall was moved to the wall behind the front door.
• Living room furniture
The homeowners thought that the sofas were the problem and wanted to buy new. The sofas were comfortable they just did not love the color. I could make the color work and without buying new sofas this season, we could do more decorating. We placed the sofas in an L shape. This created a faux sectional feeling and looked very nice. We then sat the recliner at an angle inward toward the room. Finally, we added two round tables to the set up. We need small tables to hold lamps and allow space to put the things we need.
• Rug
We chose a rug that would pull all the blues in the space together. The rug pictured had navy, teal, and light blue colors running through it and it is an 8×10.
• Rug at front door
The entry way rug combines undyed wool and rescued denim. I love this rug and so did the homeowner. The navy and soft blues are complementary to all the blues in the space and tie into the living room rug well. Also, the entry rug is a 5×8; I like entry rugs to be large enough to walk on for several steps.
• Lamps in living room
We added two lamps to the living room. These lamps are like glazed pottery, each one looks a bit different but still showing all the shades of blue. The third lamp was already owned and worked in quite well with the new additions.
• Coffee table
We added a large white coffee table to pull the white from the dining room into the living room. This table has glass in the center and a large drawer with four sections. I placed very large starfish into each of the display sections and it looks great!
• TV
We placed the sofa table under the TV to act as a console. We did have to move the TV down. Originally the TV was centered in the wall but most of the time I do not center TV’s. Often, we have to place them off center to work in the room. So, always wait until the very end to hang your TV.
P.S. –Attention, club presidents! I give free decorating programs! It is lots of fun and very informative. Call and schedule your club today or call Ruth your full service decorator at 352-804-2056.
Before and After Pics Below