352-804-2056



Focus to Finish
Well, we are four weeks into my birthday knee and things are going well. At this stage the routine is simple: therapy, ice, therapy, ice. The physical therapist keeps me focused on healing so I can finish strong and get back to everyday life. Decorating works the same way. A decorator helps a client stay focused on the most important elements of a room so they can reach that satisfying moment when the space is complete and ready to enjoy. The kitchen is the most used space in a home, and the living room comes in a close second. In an open-concept home, the living room can be just as challenging to finish as a physical therapy session. Let’s peek into the living room of the Putnam model from last week to see how staying focused brought the space to a warm and welcoming finish somewhere in the heart of The Villages.
• The Challenge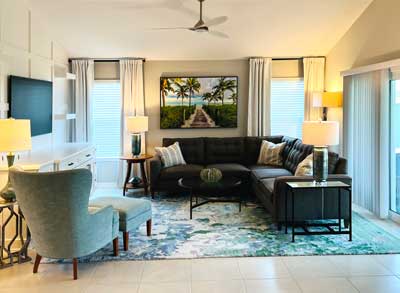
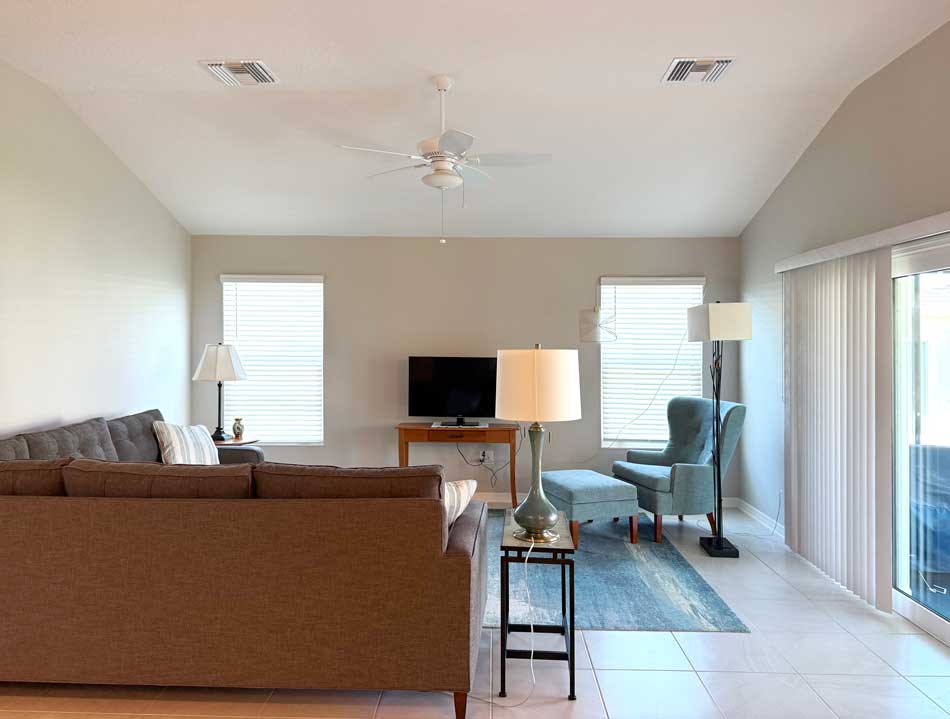
The challenge in this space was that the homeowners brought a sectional sofa with them. It was an investment piece and extremely comfortable, but they could never get it to feel inviting. In its original position the sectional seemed to block the room, and because it didn’t fit this house the way it had in their home up north, the living room wasn’t used very much. In many homes the sofa ends up floating in the middle of the room facing the two windows simply because the architect placed a plug in the floor. That plug becomes a behavioral prompt and most people follow it without questioning the layout. Unfortunately, it creates a wall that was never meant to exist. The open concept stops feeling open when a large piece of furniture blocks the entrance. The homeowners were close to giving up on the sectional and starting over, but they didn’t need to. With one shift the room opened up, the sectional finally made sense, and the space became warm, comfortable, and inviting again.
• The Shift
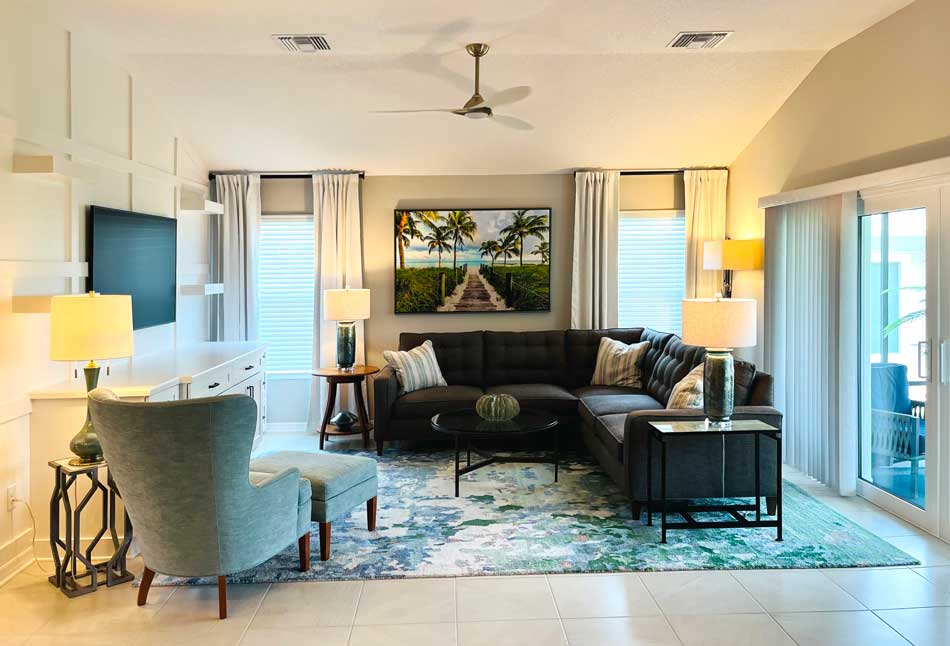
We shifted the sectional so that one portion sits between the windows and the other floats at the back of the room. The proportions worked in our favor because the sectional was just the right size to sit comfortably in that floating position. It left plenty of space to walk behind it and created an easy, natural flow to the sliding glass doors, allowing them to be used exactly as intended. The sectional is upholstered in a dark brown woven fabric, and the tufted back pillows give it a tailored, handsome look. In photographs and in print it reads a bit darker than it does in person, but in real life the color feels warm and balanced in the room. Now that the room was open, we shifted the chair to the left side of the room looking in toward the sectional.
• Side tables
The homeowners had three side tables, and we were able to use all of them in the room. Each end of the sectional received one, and the side chair received the third, ensuring that anyone sitting in the space had a convenient spot to set down a drink or a phone. The small coffee table served as the shared surface for anyone seated in the center of the sofa, completing the room’s sense of comfort and function.
• Lamps
We placed a lamp on every table to spread light evenly throughout the room. Each lamp is glass with soft iridescent tones of green and blue that echo the colors in the rug and artwork. A single floor lamp brightens the back corner and adds the extra layer of light the homeowners needed, completing the room’s warm and welcoming glow.
• Focal Point
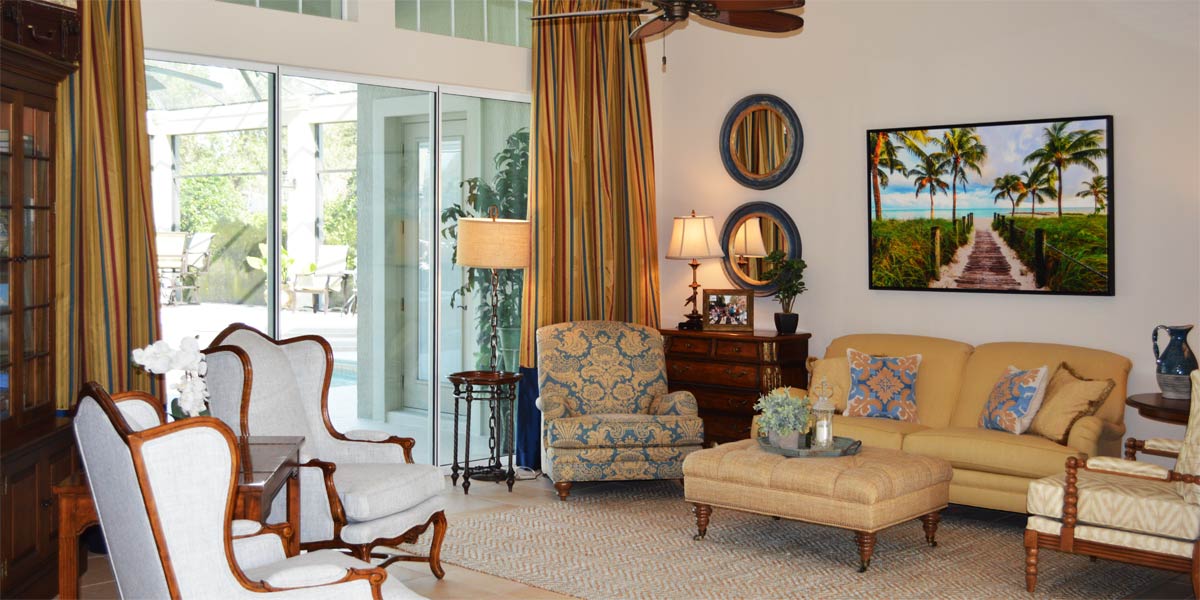
The wall between the windows is the natural focal point of this room, and it needed the presence of large art to anchor it. We added another Alan Maltz photograph titled “Pathway to Palms.” The choice was intentional because every tone in the image connects to something in the room. The brown walkway connects to the sectional, the sunlit green grasses echo the greens woven through the rug, and the blue horizon ties into the blue accents throughout the space. The photograph measures sixty inches wide by forty inches high, and there is still plenty of room for curtains on each window, allowing the focal wall to feel balanced and complete.
• Curtains
The homeowners love the softness that curtains bring to a room, and since they weren’t interested in crown molding, we decided to let the curtains do the architectural work. We chose white linen panels from Pottery Barn in the 96-inch length, which allowed us to hang the rod right where the wall meets the ceiling. The height draws the eye upward just like crown molding and gives the room a polished finish. Notice that we did not treat the sliding glass door with curtains. We left that alone because next year the lanai will be enclosed and the window will be trimmed out with casement molding and a header. The homeowners will then use privacy treatments on the lanai.
• Rug
We chose to use the same Company C rug in the living room that we used in the dining room. We positioned it so the eye naturally follows the green at the back of the living room and continues into the green in the dining room. Green remains the dominant tone in the rug, with touches of blue, violet, and salmon woven throughout, creating a visual connection between the two spaces.
• TV wall
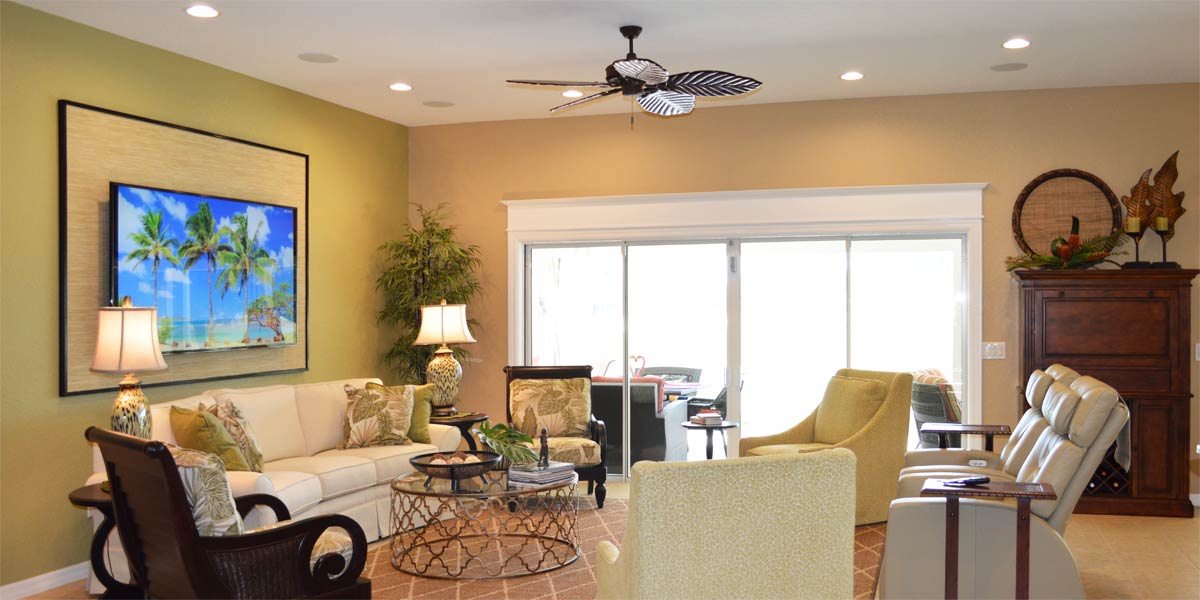
The homeowners wanted a built-in on the TV wall that offered storage while keeping the room feeling light. We added cabinetry along the left wall opposite the sliding glass doors, giving them the function they needed without adding visual weight. To make the cabinetry and wall feel like one cohesive unit, we continued board and batten across the entire wall. The homeowners installed four floating shelves, which they will fill as they find pieces that feel right for the space. The entire wall was painted to match the white cabinetry so the whole installation looks like a single, clean architectural feature. It serves as a secondary focal point because it houses the TV, yet it keeps the room bright and open. The homeowners also chose a non-glare TV, which means any time of day is a good time to settle in and watch a favorite show.Call Ruth your full service decorator at: 352-804-2056
or Contact Us
Before and After Images Below