Happy Transformation
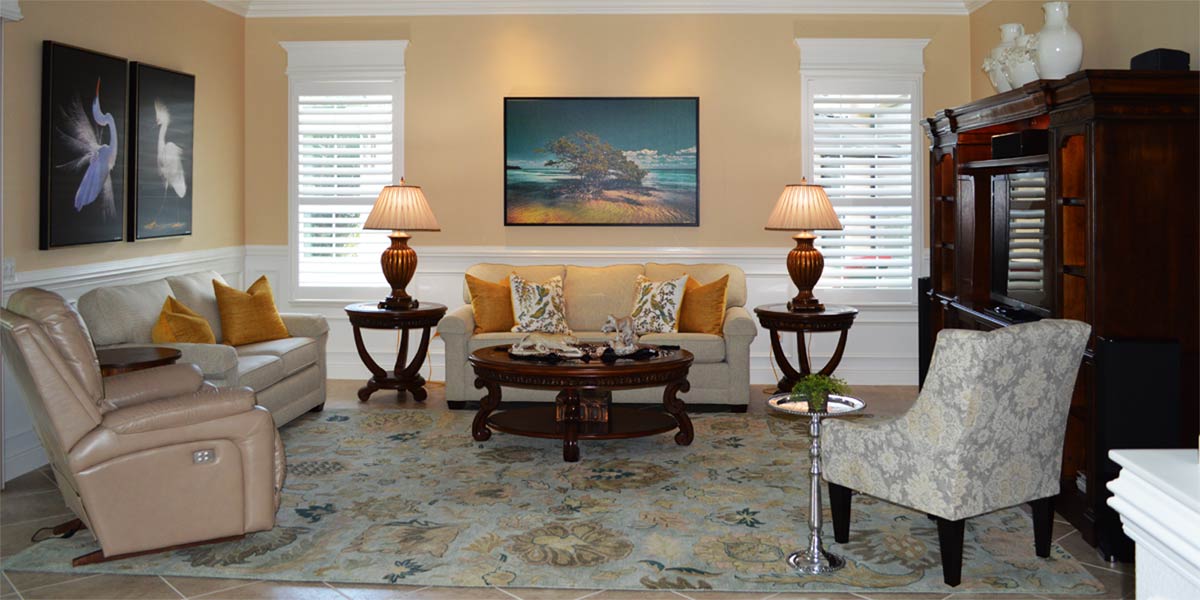
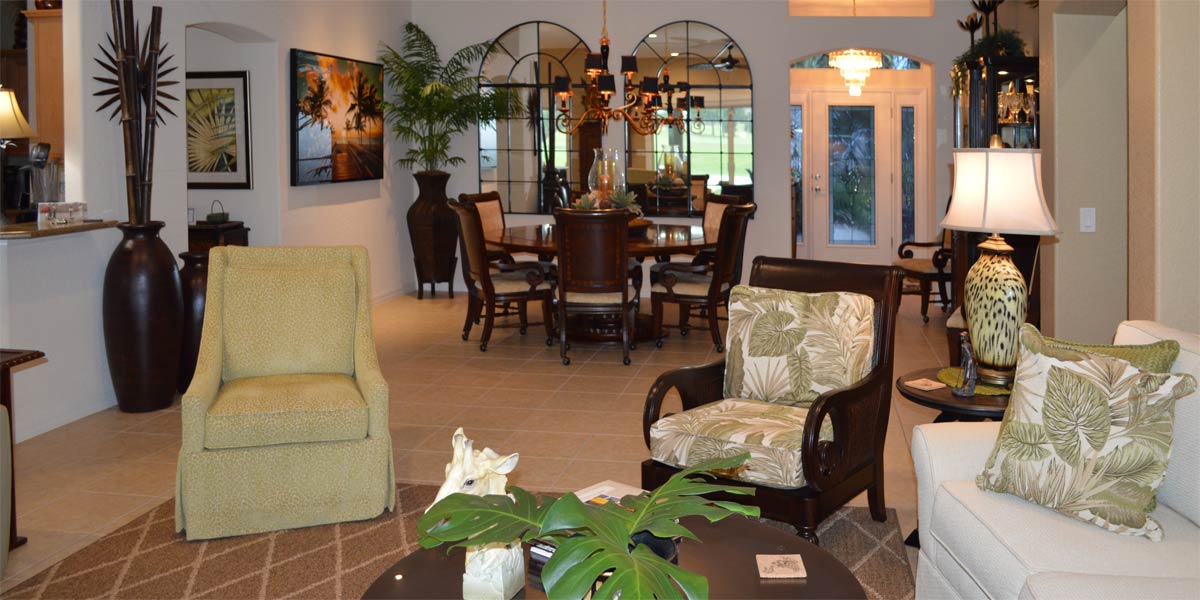
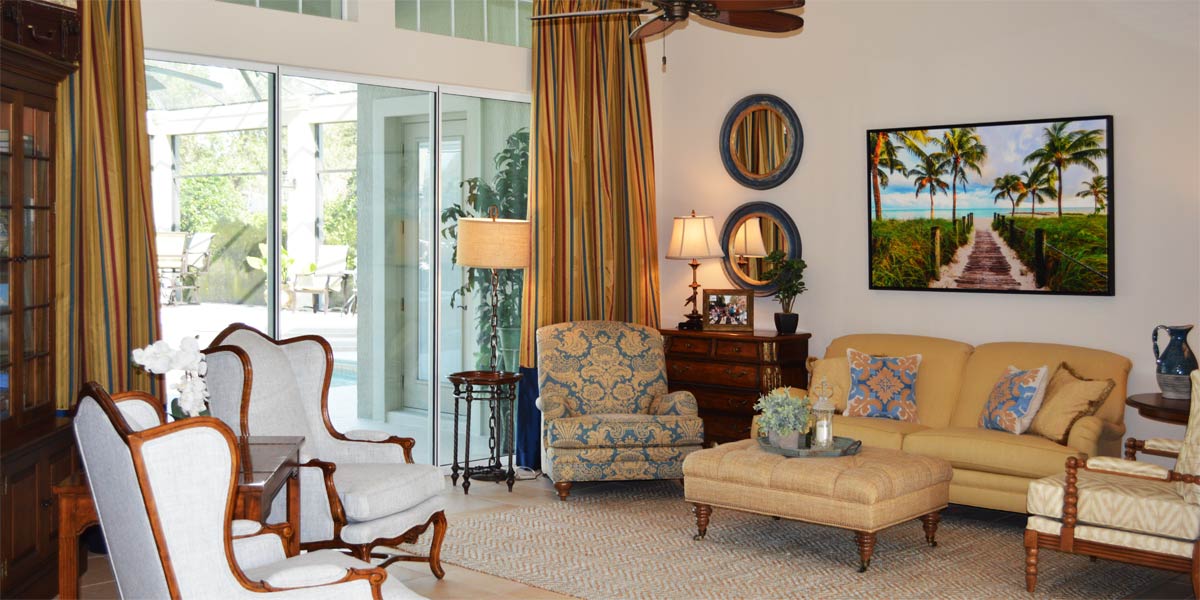
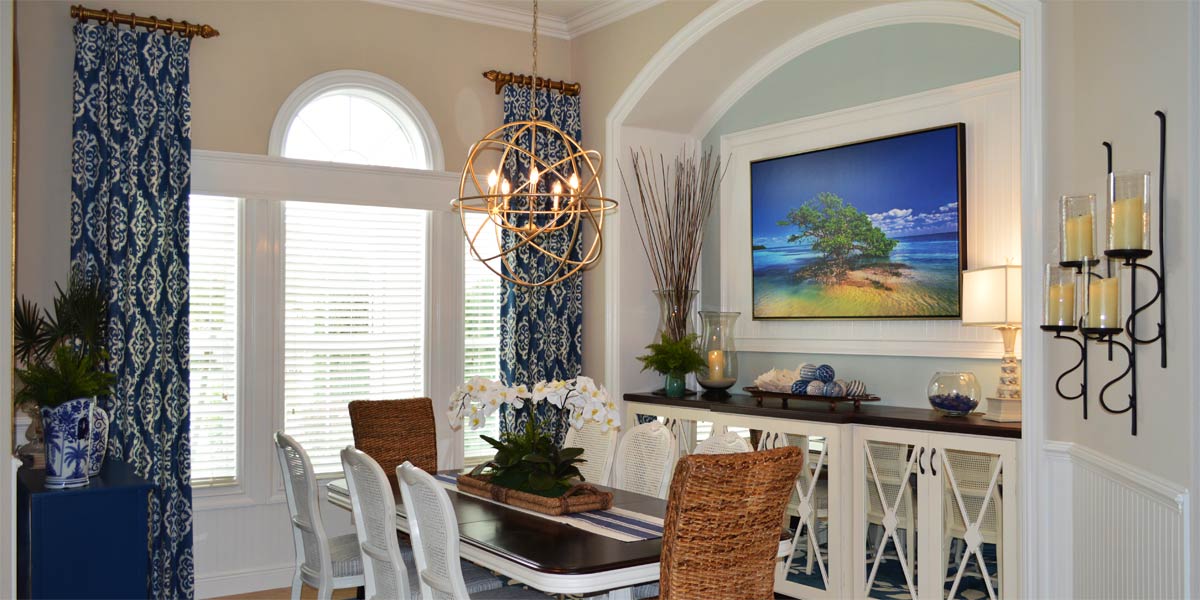
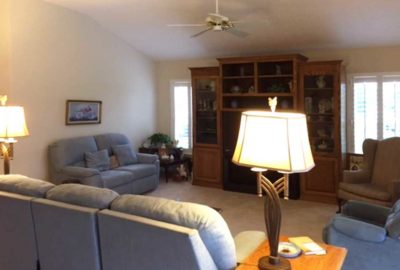
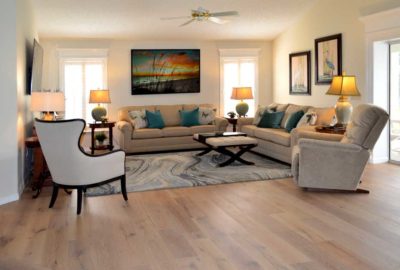
Transforming spaces is fun! What I love most, above all else is that my work is satisfying and life changing work. When a room begins to take shape and become more comfortable and more beautiful people are happier. The look on client’s faces when they see what I have seen in my mind for the first time is fulfilling. The way they move into the space with ease touching things and sitting on couches trying to experience the new space lets me know that a good transformation has occurred. Let’s take a peek into a Gardenia model living room that was happily and totally transformed after fourteen years of remaining the same, somewhere in the heart of The Villages.
• Paint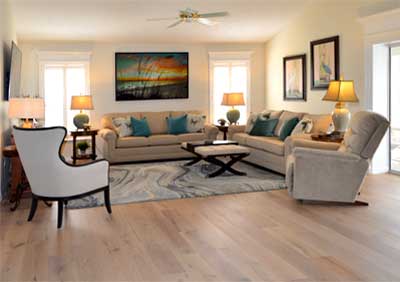
We did not need to paint! The homeowners did repaint and they kept it light and bright using the same color that was original to the home. I loved the existing paint color and it was in good shape so we tackled other projects.
• Casement molding
We discussed adding crown molding but we needed something more than that; we needed casement molding. This house has a great view and we wanted to enhance the view. We added large casement molding with a crown molding header around the slider. When the slider is finished in the white molding it creates a picture frame effect and enhances the view. In order to visually tie the shutters to the slider, we added crown molding headers to the top of the shutters. When you walk into the room the windows all look cohesive and finished. If you are considering crown molding be sure to address the windows as well. Most of The Villages models have windows along the back of the house and they are the first thing that is in the line of sight, so windows are important and molding is a great way to finish them. If you have to choose between windows or crown then choose the windows. When the windows are finished with molding it creates an optical illusion that the room has crown because the windows are the first thing that people see.
• New Floor
This is a Gardenia model and the living rooms at the time this house was built were usually carpet. The kitchen and foyer have tile that runs into the living room carpet. We installed new engineered hardwood because it blended nicely with the existing tile in the home. The engineered hardwood was installed by abutting the wood to the tile rather than ripping the tile up. We chose a color that blended with the tile nicely making the transition visually soft and natural looking. The key to engineered hardwood in a Gardenia without a threshold is to find an installer that can do it. It can be done and it looks amazing!
• Buy a Huge TV
I think the homeowners were most excited about the TV. As soon as they knew they could have a large TV by repositioning the room, they purchased the TV that weekend! We did replace the large entertainment unit with a console and we attached the TV to the wall. If you are getting rid of the entertainment unit, it is important that the TV be attached to the wall, it looks more professional. Also, there is no gap between the wall and the back of the TV spoiling the look of a space.
• New furniture all around
We were able to place two full size sofas at 85” long. We placed the two sofas in an L shape creating the sense of a faux sectional. We also, purchased a new recliner! We added an ottoman in front of the sofa, rather than a coffee table, so that the homeowners could put their feet up. This coffee table has the unique function of a center piece of wood that slides; it will hold a bowl of popcorn or a drink! Also, it is a pretty piece. We added an occasional chair beside the console with a little table and a lamp. This rounded out the conversation area perfectly!
• Side tables and lamps
The sofas meet to create an L shape. I added a square side table to the square space created by the two sofa arms meeting. I used a round table at one end of the sofa. Finally, I used a round table in the pie shaped space created by the angled recliner beside the sofa arm. This set up allows us to get four lamps in the space which looks nice for night time lighting in the home.
• Rug
We chose an 8X10 wool rug with swirls of color and it looks amazing in the space. The rug has to big enough to cover the outlet that is in the floor because with this configuration the plug is not needed. Also, it provides a soft place for bare feet to land while delineating the space. If you are considering this set up, the room could hold a rug as big as 9×13.
• Art
The art is all Florida all the way! We placed “Sea of Dreams” by Alan Maltz over the sofa. The side wall received two water colors, an egret and a heron by Gene Rizzo that complemented the sunset. Altogether, the room looks larger and the space looks open and inviting while maintaining high function.
P.S. –Attention all club presidents! We give free decorating seminars. It is lots of fun and very informative. Call and schedule your club today. Also, we are on-line check out our web-site at www.finishingtouchfl.com and you can always e-mail us at ruth@finishingtouchfl.com or Call Ruth your full service decorator at 352-804-2056.
