 352-804-2056

Spring Fresh
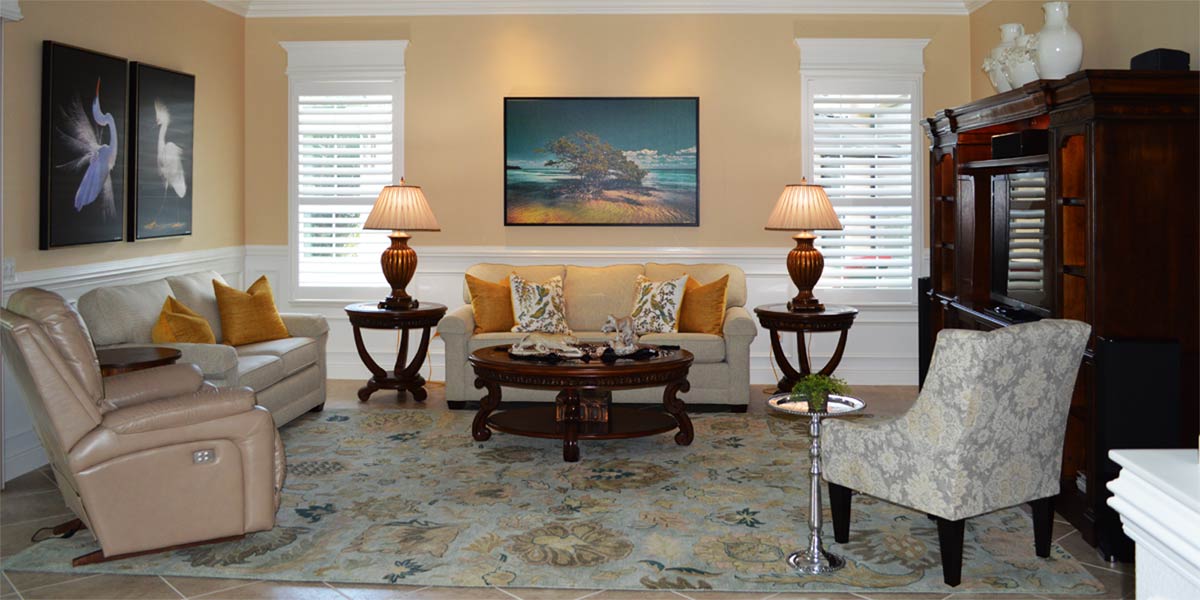
The cool night air wrapped around me creating a chill and my arms covered in goose bumps. It was hard to believe that it had been 80 degrees this afternoon and now I needed a sweater. The sky was a brilliant canopy of stars with the Big Dipper being the most bright and apparent constellation of them all. Though no blooms could be seen a wonderful fresh scent was in the air from the jasmine that wraps my lamp post. I could hear the mocking bird perched in my neighbor’s magnolia tree singing his song beneath the night sky and it was a sign that spring has sprung and we are just a few weeks from springing forward! Webster’s dictionary defines spring as a time or season of growth and development. As I contemplated these things late at night on my front porch, my mind wondered to decorating and its shared bond to spring. Let’s take a peek into the kitchen of a classic courtyard villa that has grown exponentially into a light bright and airy space reborn just in time for spring, somewhere in the heart of The Villages.
• Take down the wall

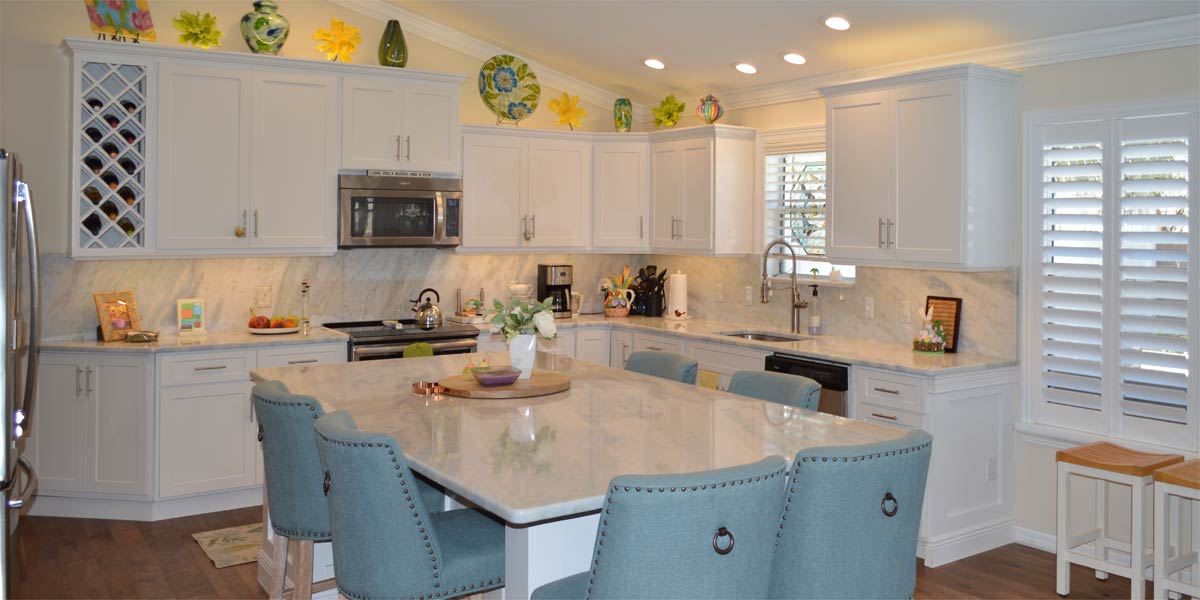
This courtyard villa is an older model that is not made any longer and the homeowners took the opportunity to make the space uniquely their own. In order to do that they could not keep the wall that divided the kitchen and living room. The wall sectioned off the kitchen into its own space and allowed for a pantry and cabinets to create an L shape in the kitchen. The back wall of the kitchen was left with no cabinetry so that the homeowner could have an eat-in kitchen situation. This made the kitchen and eating area very small and tight. With the wall removed now the entire space could be used and increase the usable square footage of the villa.
• Appliance positions
The sink was originally positioned on the wall in front of the pass through. Once the wall was removed the sink needed a new home. The new home for the sink was under the window. This means that the sink, dishwasher, stove and refrigerator are located on the same wall. Many people who might be reading this may wonder, “where is the classic kitchen triangle?” but many kitchens today are moving away from the constraints of that structure and it has opened up so many opportunities to change small kitchens around. The refrigerator stayed in its original position and the stove stayed in its original position with a small cabinet between them. There is nothing wrong with having the stove next to the refrigerator. The only rules that should guide you in your kitchen design are the ones that you make up for you. I have to give the homeowners a round of applause because it was their open mindedness and willingness to think outside the box that created this beautiful space.
• Pantry and microwave
In the original kitchen the back wall of the kitchen had nothing, the wall was blank. The homeowners decided to fill that wall with a new pantry and more cabinets with a counter top to round out the kitchen. The microwave is a pull out drawer microwave that is located in the lower cabinet on the back wall.
• Island
Since the homeowners decided to lose the wall they had tons of space to add a magnificent island. The island is a whopping 115” long and serves as the dining table as well. The slab of granite required eight men to bring it into the space and place it on the island. The island is so inviting that guests want to linger and visit in the very comfortable kitchen. Finally, the island provides so much cabinetry and storage it is like adding another wall of cabinets to the space. The homeowner chose black cabinets for the island and it really works well with all the white cabinets.
• Cabinets
It is very important when installing new cabinets to go higher with the cabinets. Some models cannot go all the way to the ceiling because of the angles but in this case the ceiling is lower. The homeowners had the cabinets taken all the way to ceiling and it makes the space look larger by drawing the eye upward.
• Granite
The homeowners chose beautiful black and white granite to complement the black and white cabinetry. Also, they chose to run the granite all the way up as the backsplash. This provides a seamless, grout-less, and unified look to the kitchen. Also, if you are getting granite be sure that your installer applies a fifteen year seal. Many people have a fear of needing to reseal granite each year but those days were in the 90’s. We no longer have to do that with a fifteen year seal.
• Black fixtures
The homeowners chose black fixtures and handles throughout the home including the new bathrooms. I will show the bathrooms next week but I mention this because if you are considering black for your fixtures too; you will need to install a water softener. You don’t want to have lime crusted black fixtures a year after they are installed. The homeowners purchased a water softener to protect their new investments.
• Flooring
The New flooring that was installed throughout the home everywhere was engineered hardwood. The wood is a rich medium wood that does not darken the home and works so well with the white and black in the kitchen. New tile was installed in the bathrooms.
P.S. –Attention all club presidents! We give free decorating seminars. It is lots of fun and very informative. Call and schedule your club today. Also, we are on-line check out our web-site at www.ruthdyer.com and you can always e-mail us at ruth@finishingtouchfl.com or Call Ruth your full service decorator at 352-804-2056.
Before and After Pics Below

