Everything seemed to shimmer with a cool white glow as I watched the lights that adorn Cinderella’s castle grow to full brightness against the inky star filled sky. Who does not love Disney at Christmastime and after a year and a half I was about to burst with excitement. The lights and decorations make the park feel like the Hallmark channel has come to life all around you. I wish the castle could be draped in lights 365 days a year; then every Disney visit would feel like Christmas. Later that night I thought about the idea of Christmas 365 days a year and how that relates to the world of decorating. The majority of my work is helping people create a new home here in Florida after a lifetime lived somewhere else. It is a gift when I can create a space that feels like home all year long. Let’s take a peek into a Gardenia model living room and see how we created a space that feels like home… somewhere in the heart of The Villages.
• A room with a view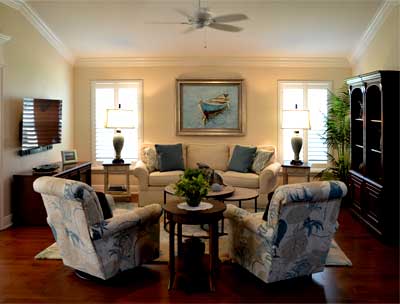
This furniture plan can work in any room that is a Gardenia or a model that has this living room configuration. This particular Gardenia has a magnificent view and the homeowner wanted to see the view no matter what they were doing in the space. Usually, before moving the furniture we try to determine what the most important thing to the homeowner is because the TV can be placed on either of the side walls of the living room.
• Move the TV
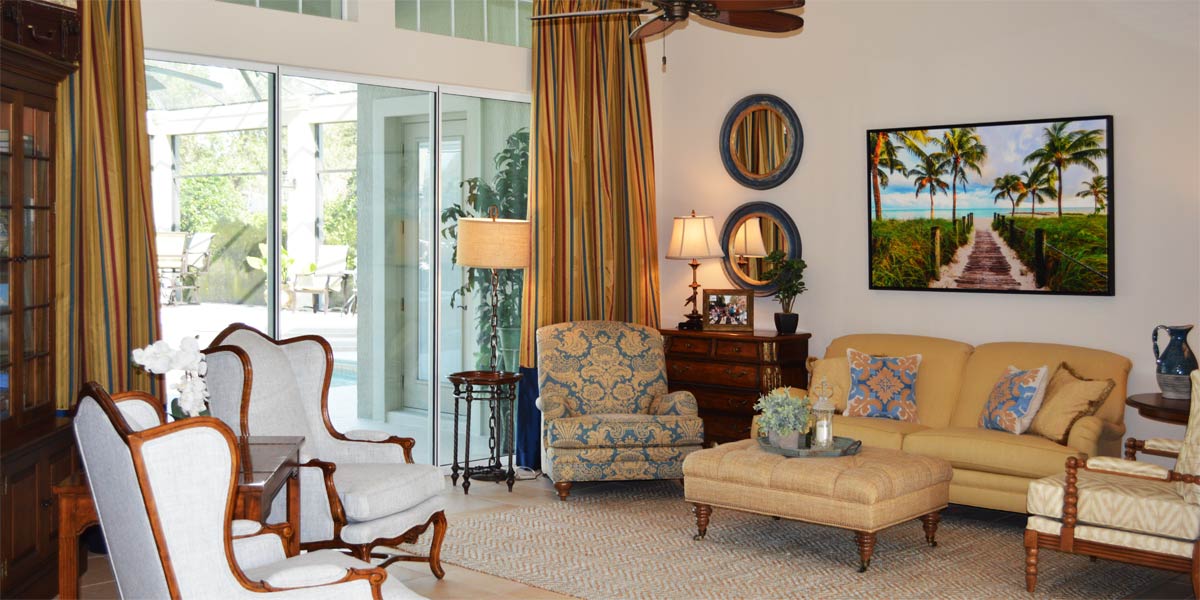
The television was originally placed on the wall between the windows which always looks dark. The two windows allow light to pour in the room so that light is moving toward the person in the room. When light is coming at you everything in front of that light will look darker, so when the TV is off it looks like a black hole in the space. We change that scenario by moving the TV to a side wall and establishing a strong focal point between the two windows. In this case due to the amazing view we chose the small wall next to the sliding glass door. This perspective allows the homeowner to watch TV in the room or while cooking and see the view! Also, the TV can be connected to the wall even though it is an exterior wall as is seen in the picture.
• Move the sofa
This homeowner had a conversational sofa, which means each side of the sofa curves in a bit. The sofa still works in the space like any other sofa and we placed it between the windows.
• Art over the sofa
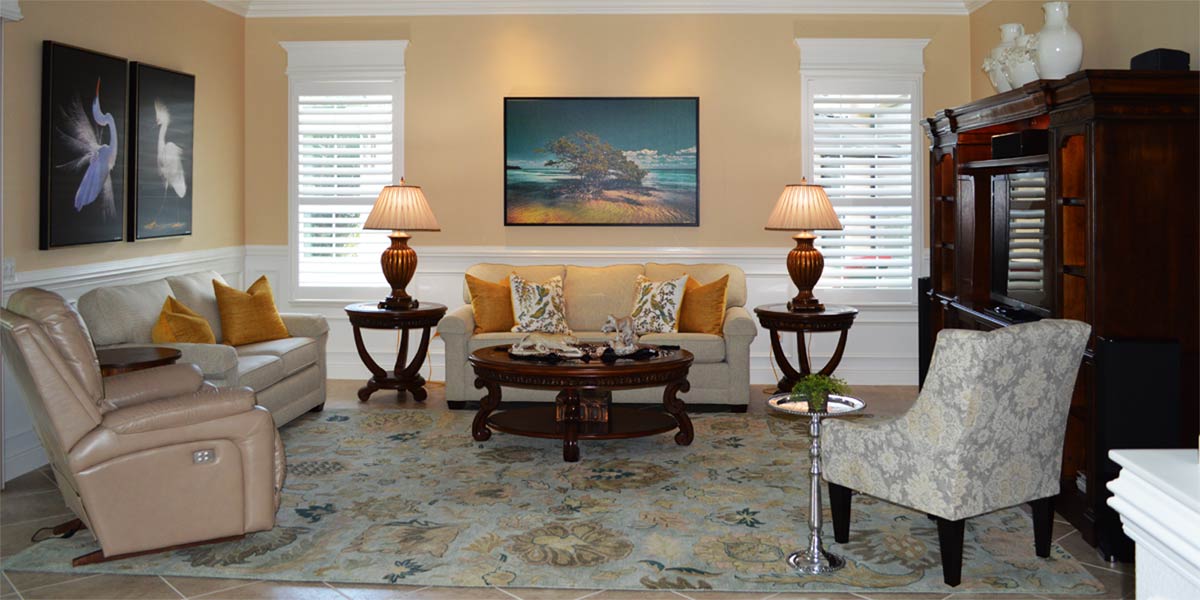
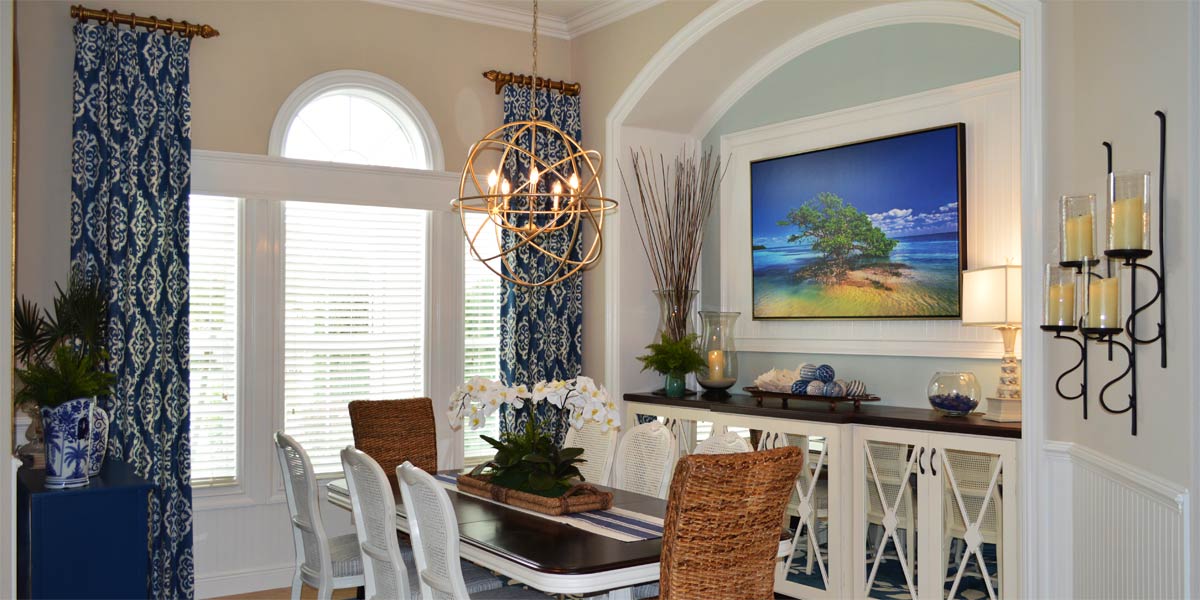
We found the art that we placed over the sofa in the dining room. This beautiful picture was originally on the back wall of the dining room and out of scale with the pieces in the space. When we moved it to the focal wall above the sofa, it came to life! The lightness of the teals in the space work well with the teals and blues in the art and the light silver frame is complementary to the space as well.
• Side tables
We placed matching side tables on each side of the sofa to establish symmetry on the focal point. A strong symmetrical focal point is always going to stand the test of time.
• New Lamps
The old lamps were a bit too casual for the space. We re-purposed them in the guest bedroom. We bought new lamps for each side table and they are tall. The homeowner needed light to read and these lamps are not only beautiful but are a powerhouse of light.
The blue crackle lamps with silver and black touches are the perfect complement to the art, rug and the chairs.
• Two swivel chairs
The two swivel chairs with the pretty print were placed across from the sofa. Usually, I would place them on the back wall opposing the TV but we did not have that wall available. I really like them across from the sofa in this situation because that is the rest of the seating in the space. We placed a round table in between them but no lamp to block the view of the art or the TV.
• The bookcases
The homeowner had a pair of bookcases that had to stay in the space because they held a precious L’lado display and the homeowners enjoyed seeing the display. We placed them on the wall opposing the TV. This is the wall that I would normally place more seating but that was not necessary for these homeowner’s.
• Rug
The rug is an 8×10 and that is the size that always works for this space. However, in some circumstances I have used a 9×12 rug. Usually if you have a stretched model the rug should be bigger.
P.S. –Attention all club presidents! We give free decorating seminars. It is lots of fun and very informative. Call and schedule your club today. Also, we are on-line check out our web-site at www.ruthdyer.com and you can always e-mail us at ruth@finishingtouchfl.com . Call Ruth your full service decorator at 352-804-2056.
Before and After Pics Below
