 352-804-2056

Life is Beautiful
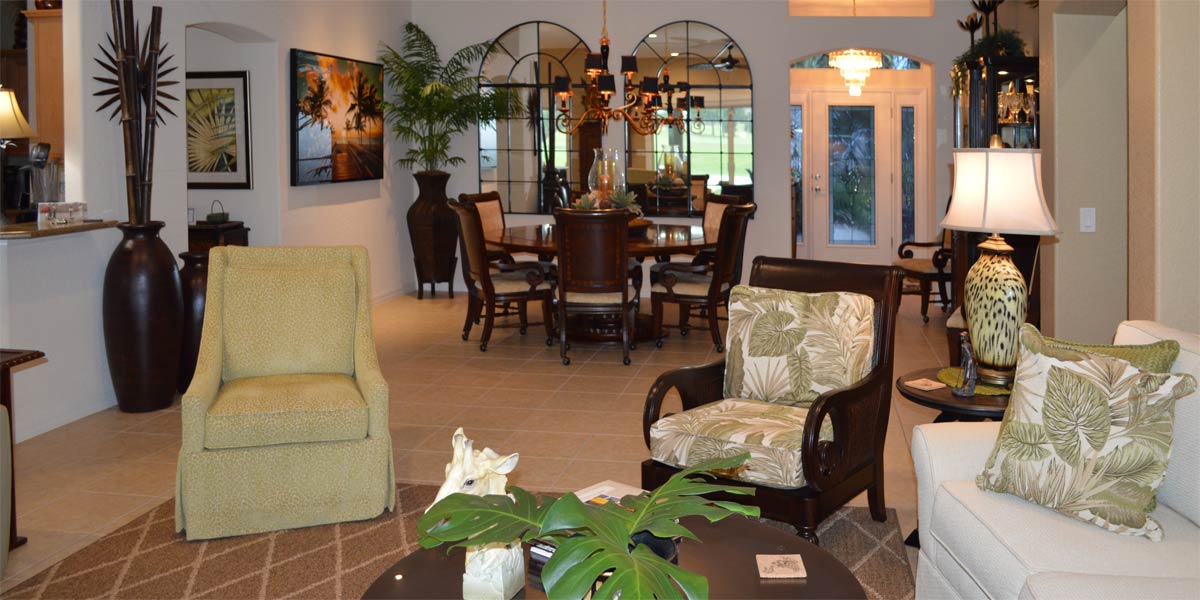
“Life is Beautiful so Breathe” were the words I read as I lay on the table and looked up. These words were written on a light blue ceiling the color of sky and were a simple reminder to de-stress. So I did what the words said and I breathed and life was beautiful, especially for the next hour. I imagined stress leaving my body dissipating into the air above my head never to be felt again. The massage therapist worked her magic while the sound of spa music and ocean waves filled my mind with soothing white noise. I quieted myself and I began to observe my surroundings. The room was full of simple things that promoted relaxation and served as constant reminders that affirmed the beauty of life. So then, in the world of decorating we should promote the beauty of life at home with things that make us happy. Let’s take a peek into the living room of an Iris model that promotes a beautiful life somewhere in the heart of the Villages.
• Make the house a home
The homeowners wanted to lighten and brighten up the space. Also, they wanted to finish the space so that if felt like home. They were tired of thinking about decorating and buying things only to return them. They wanted ideas to make the space feel finished so they could relax and enjoy the beautiful life.
• Rugs to start
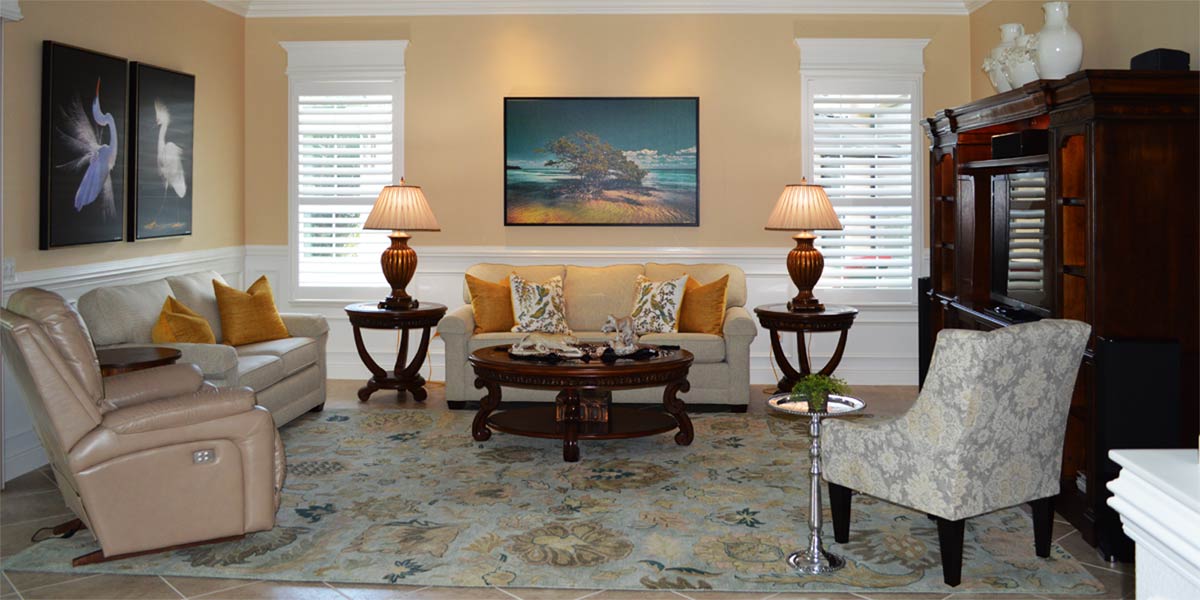
The Iris model needs two rugs; one large 8×11 rug in the living room and one 5×8 rug in the foyer. It is difficult to place a rug in the dining room because it spills out into the natural walk path and can create a tripping hazard. We chose a beautiful teal, cream and gold rug to light up the living room. The rug is laid close to the TV cabinet and just under the sofa. I like the rug to completely fill the living room in the Iris so that it will be fully walked on; this eliminates tripping hazards. The Iris foyer can handle a 5×8 rug at an angle and it looks amazing, so go big in the Iris foyer.
• Replace the large entertainment unit
We lightened the space by removing the large dark entertainment unit and purchasing a buffet that we used as the TV console. We chose the buffet in crème to keep the space light. Though we got rid of the large entertainment unit we still wanted a strong focal point in the living room. We created that feeling by adding a large floating shelf above the TV. This shelf draws the eye upward and provides a finished look to the wall. To finish the look we added a large picture above the shelf. We did not set anything on the shelf because the picture was enough. We added an arched crème colored faux window to fill in the space between the pillar and the TV. The arch can have a wreath or stockings added at Christmas time!
• Fill in the space
There is a large span of wall between the living room and dining room and I love what we did with that wall! We added four hurricane wall scones with electric candles. These sconces are so simple but make such a great statement. The candles can be turned on by one remote and the electric wick flickers just like a real burning candle.
• Occasional Chair
The Iris has room to angle in a nice size occasional chair next to the TV console and under the wall sconces. This chair should be about the size of a club chair and comfortable for conversation. We chose a chair that has subtle teal and tan stripe with a band of nail heads. We loved it!
• China cabinet
We used the china cabinet across from the dining room to hold display items. We hung a large rustic clock above the china cabinet and it looked perfect pulling the teal into the dining space.
• Family Photo Wall
The angled wall of the Iris living room is the perfect wall to make a family photo wall. If you have been putting off doing this because you have to sort photos don’t put it off. Often homeowners don’t have the photos picked out but that cannot stop progress. We purchase the black frames with white matting and hang them all in different sizes. We incorporate wall shelves into the mix and the end result is a very art gallery looking photo wall. The homeowners can fill the frames at their leisure but at least the wall is hung and we are not waiting on someone to sort pictures.
• Curtains to finish the windows
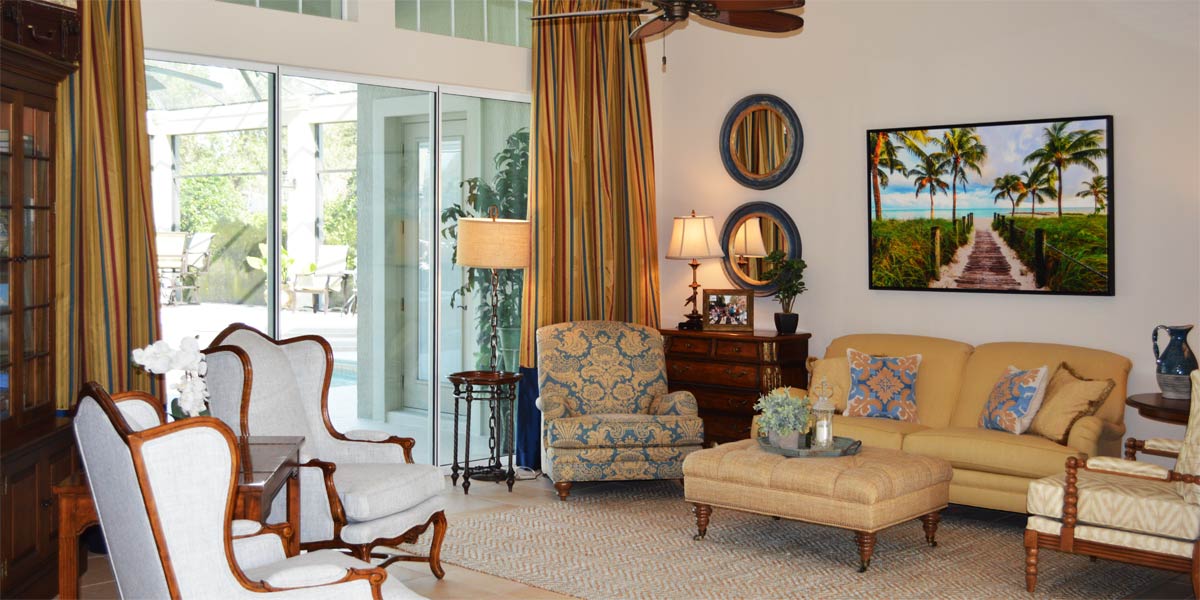
It is very important that the windows in the Iris look visually cohesive since the back of the home is mostly windows. The homeowners liked the softness and color that draperies provide so we treated all the back windows with draperies. If molding is not in the budget don’t be afraid to use draperies and hang them high at 95” inches.
P.S. –Attention all club presidents! We give free decorating seminars. It is lots of fun and very informative. Call and schedule your club today. Also, we are on-line check out our web-site at www.ruthdyer.com and you can always e-mail us at ruth@finishingtouchfl.com or Call Ruth your full service decorator at 352-804-2056.
Before and After Pics Below


